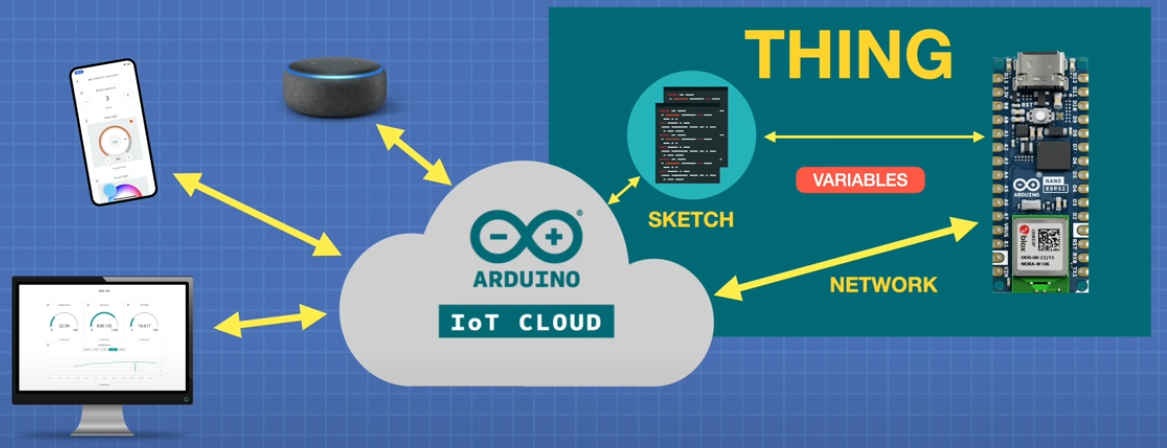
Arduino Cloud
Esta plataforma https://docs.arduino.cc/arduino-cloud/ nos permite conectar nuestras placas (Arduino v4, ESP32, et...) con un panel de control Dashboard y así controlarlos a distancia por Internet.
El mecanismo es sencillo, el ESP32 conectado por internet, pasa variables a un código (Sketch), a este conjunto se le llama Thing, y este se lo comunica a IoT CLOUD y la plataforma lo comunica a los paneles de control. Dashboard que se puede ver desde el PC o desde el móvil El proceso también funciona al revés.
 Extraído de Youtube Exploring the Arduino Nano ESP32
- Creamos una cuenta en Arduino Cloud
- Instalamos Arduino Create Agent
- Build the Thing es decir preparamos nuestra placa ESP32 con el Sketch
- Creamos the device
- Creamos the thing
- Añadimos las variables
- Creamos el scketch y lo grabamos en el ESP32
- Construimos un Dashboard o panel de control
PASO 1 LOGUEARSE EN ARDUINO CLOUD
En Plan lapermite una cuenta gratuita sólo permitese pueden 2 things ver https://cloud.arduino.cc/plans
PASO 2 ADRUINO CREATE AGENT
Arduino Create Agent te lo puedes descargar desde https://cloud.arduino.cc/download-agent
El paso 1 es loguearse
El paso 2, se descarga, se ejecuta, hay que seguir los pasos, se queda en segundo plano en el PC y no tienes que preocuparte
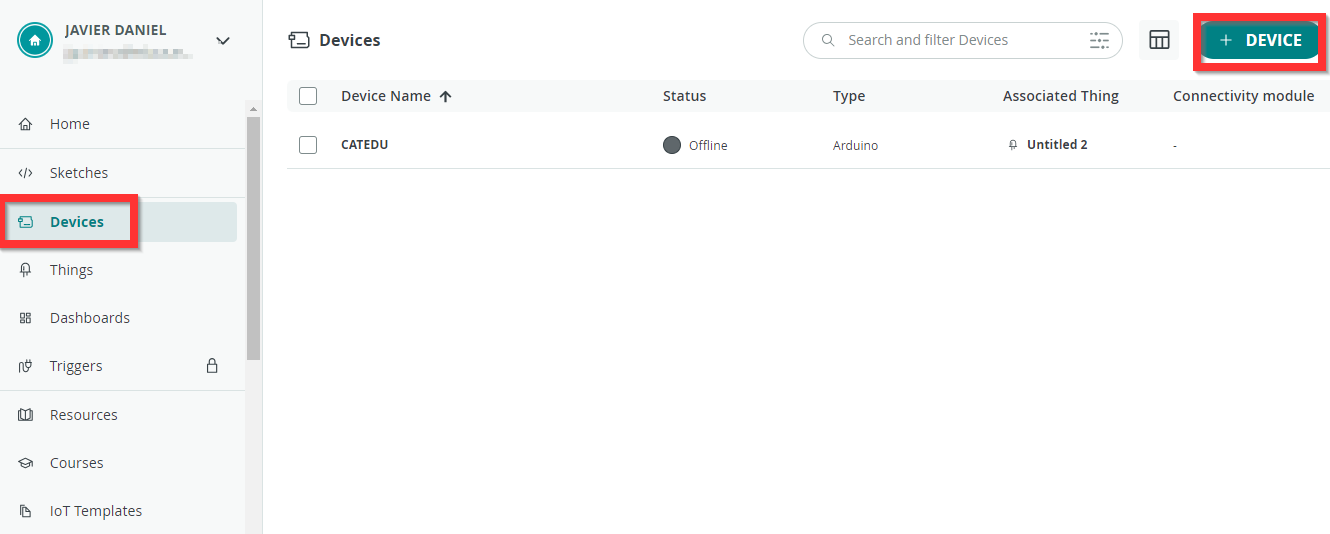
PASO 3 Build the Thing: CREATE DEVICE
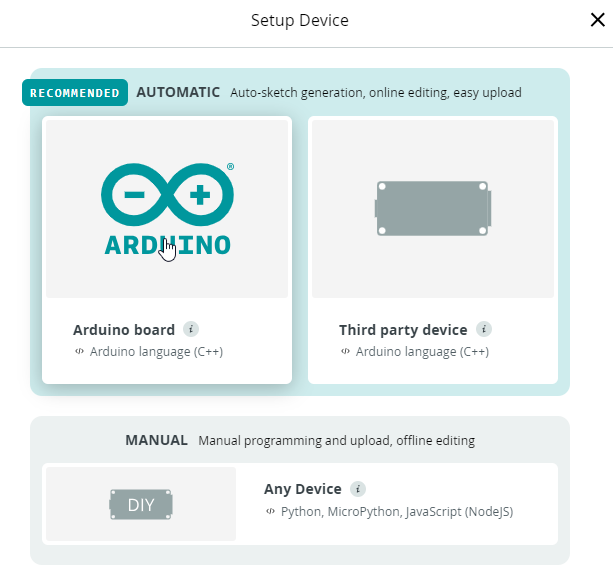
Primero añadimos un Device o placa en https://app.arduino.cc/devices
Elegimos placa Arduino
Si falla, ponemos la placa en modo Bootloader (ver qué es eso en https://libros.catedu.es/books/arduino-alvik/page/instalar-micropython ) y entonces detectará el puerto
Conectamos nuestro Arduino Alvik y saldrá un diálogo con un TOKEN on Secret key que lo guardaremos ante todo no hacerlo público

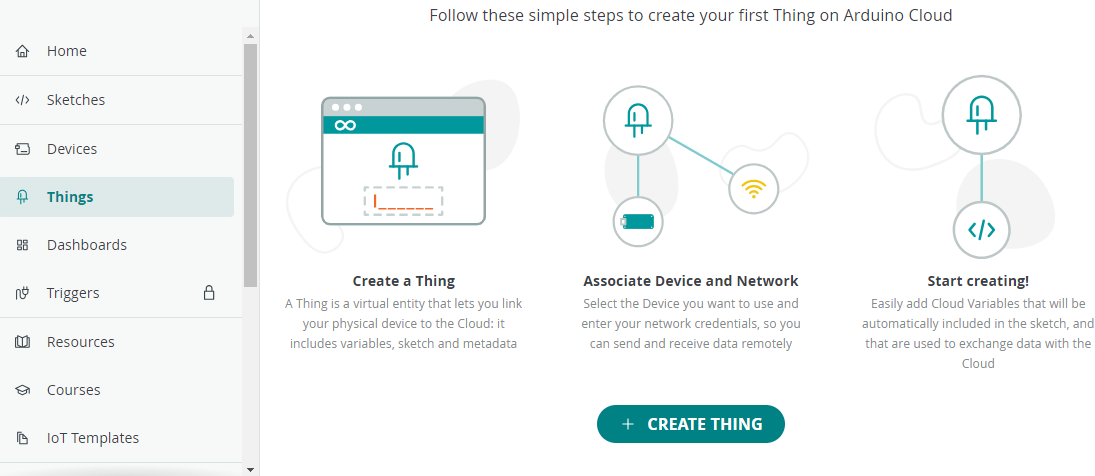
PASO 3 Build the Thing: CREATE THING
Una vez creada la placa, nos vamos a Thing, crear
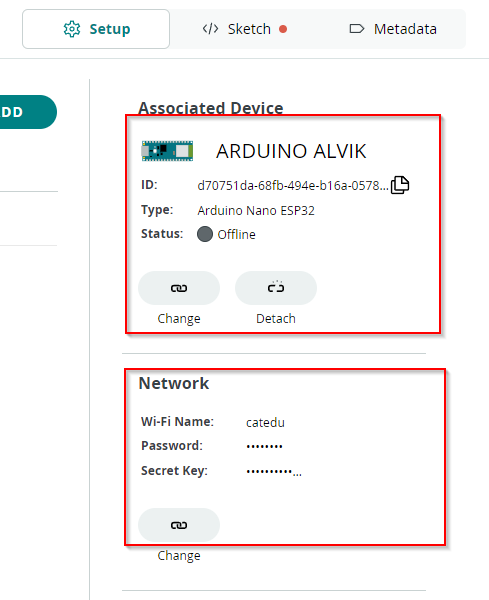
Asociamos el Thing al Device, y le configuramos una red wifi (te predirá el Secret Key)
PASO 3 Build the Thing: CREATE THING-VARIABLES
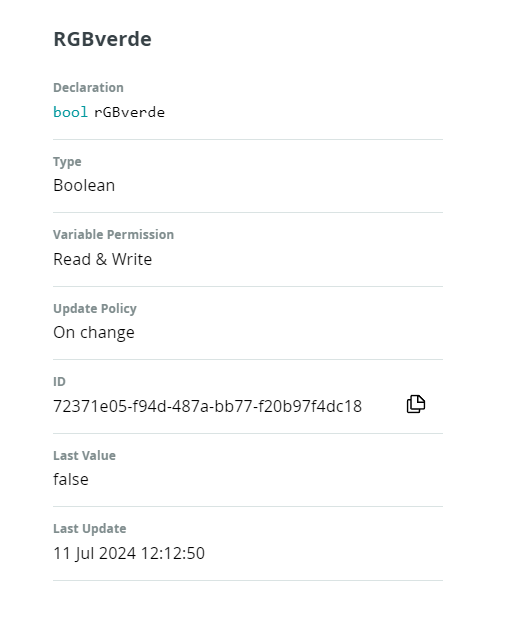
Luego añadimos variables, por ejemplo RGBverde que va a encender y apagar la luz verde, va a ser tipo Bool y Read&Write
PASO 3 Build the Thing: CREATE THING-SKETCH
Dentro de Thinks nos vamos a SKETCH
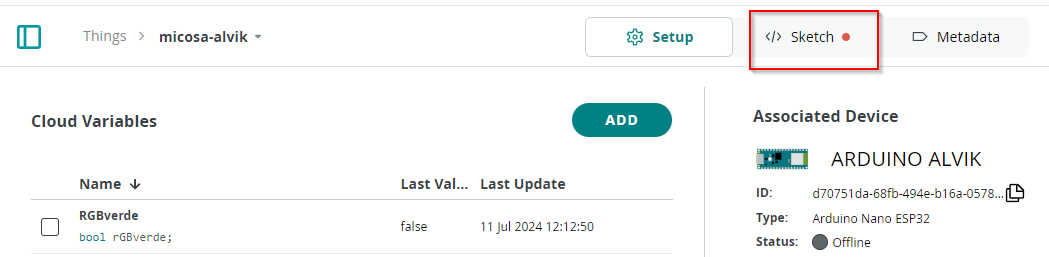
y vemos que ha creado un código thingProperties.h que tiene que tener el SSID de la wifi, su contraseña y la palabra clave de nuestro ESP32, si no lo tiene se lo ponemos :
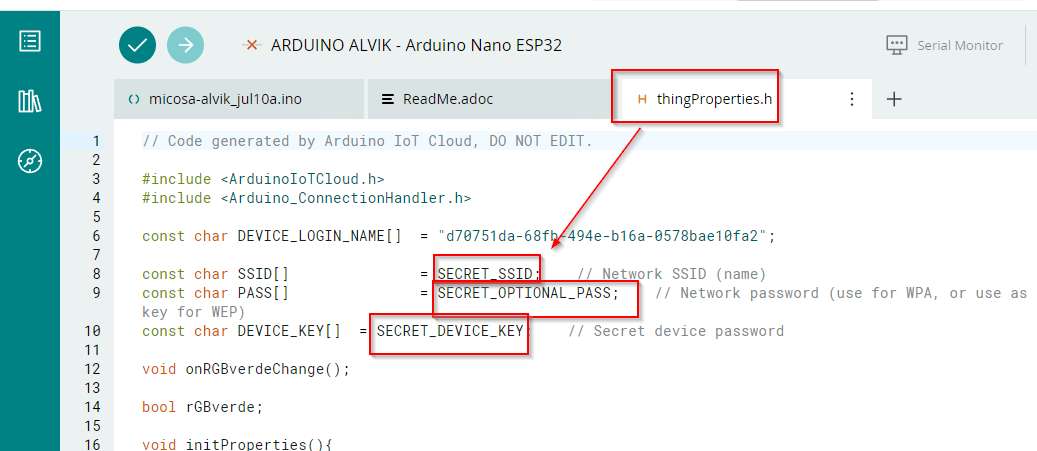
El otro script es el nombre que hemos creado en Thing y vemos que :
- LINEA 9 Esta declarada la variable que hemos añadido
- LINEA 16 Incluye la librería thingProperties.h (K
- LINEA 41 Añadimos en setup() la declaración que D13 SERÁ SALIDA pinMode(D13,OUTPUT);
- LINEA 60 AL 67Añadimos en onRGBverdeChange una condicional, de tal manera que si la variable es cierta, que encienda el led y si es falsa que lo apague
¿Por qué es D13? ¿NO TENDRÍA QUE SER 48?
Eso ya lo hemos visto en https://libros.catedu.es/books/arduino-alvik/page/parpadeo-led-esp32

Fuente https://docs.arduino.cc/tutorials/alvik/user-manual/
{{@12239#bkmrk-si-usamos-micropytho}}
/*
  Sketch generated by the Arduino IoT Cloud Thing "Untitled"
  https://create.arduino.cc/cloud/things/34a0aae1-c7b9-42ab-92d4-0e37bd51031f

  Arduino IoT Cloud Variables description

  The following variables are automatically generated and updated when changes are made to the Thing

  bool rGBverde;

  Variables which are marked as READ/WRITE in the Cloud Thing will also have functions
  which are called when their values are changed from the Dashboard.
  These functions are generated with the Thing and added at the end of this sketch.
*/

#include "thingProperties.h"

void setup() {
  // Initialize serial and wait for port to open:
  Serial.begin(9600);
  // This delay gives the chance to wait for a Serial Monitor without blocking if none is found
  delay(1500);

  // Defined in thingProperties.h
  initProperties();

  // Connect to Arduino IoT Cloud
  ArduinoCloud.begin(ArduinoIoTPreferredConnection);

  /*
     The following function allows you to obtain more information
     related to the state of network and IoT Cloud connection and errors
     the higher number the more granular information you’ll get.
     The default is 0 (only errors).
     Maximum is 4
 */
  setDebugMessageLevel(2);
  ArduinoCloud.printDebugInfo();

  /// MI CODIGO
  pinMode(D13,OUTPUT);
}

void loop() {
  ArduinoCloud.update();
  // Your code here


}


/*
  Since RGBverde is READ_WRITE variable, onRGBverdeChange() is
  executed every time a new value is received from IoT Cloud.
*/
void onRGBverdeChange()  {
  // Add your code here to act upon RGBverde change
  if (rGBverde){
    digitalWrite(D13,HIGH);

  }else{
    digitalWrite(D13,LOW);

  }
}

/*
  Since RGBrojo is READ_WRITE variable, onRGBrojoChange() is
  executed every time a new value is received from IoT Cloud.
*/
void onRGBrojoChange()  {
  // Add your code here to act upon RGBrojo change
}
Lo subimos
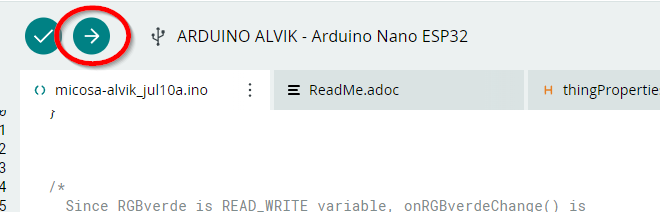
Ojo, tienes que tener el Arduino Arduino Create Agent paso 2
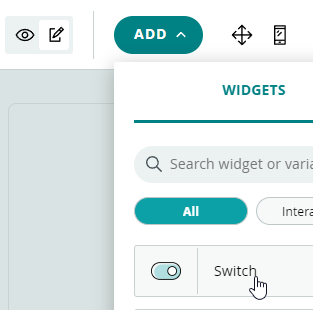
PASO 4 Dashboard
Creamos un panel de control

Y le añadimos un Switch asociado a la variable RGBverde
Podemos ver el dashboard en un teléfono móvil instalando la APP Arduino IoT Cloud Remote
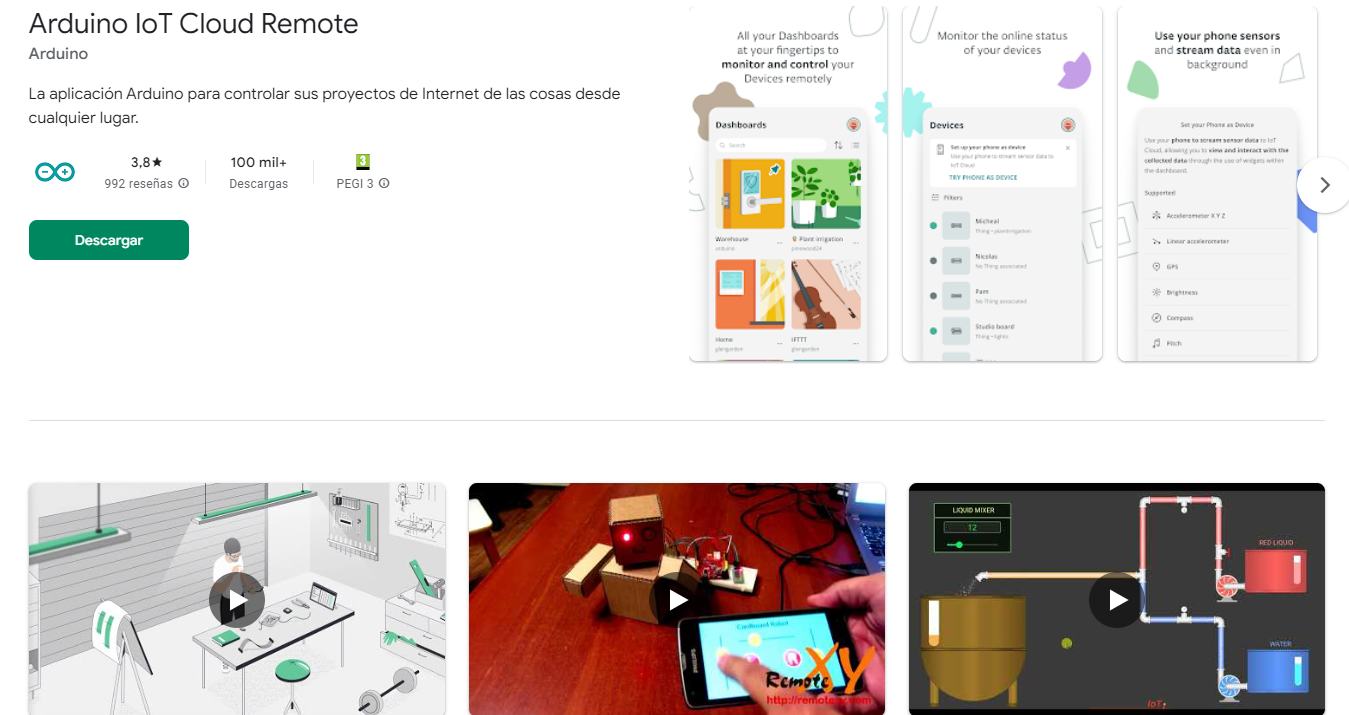
Al loguearse con tu cuenta, ya nos aparece el Dashboard
Resultado